
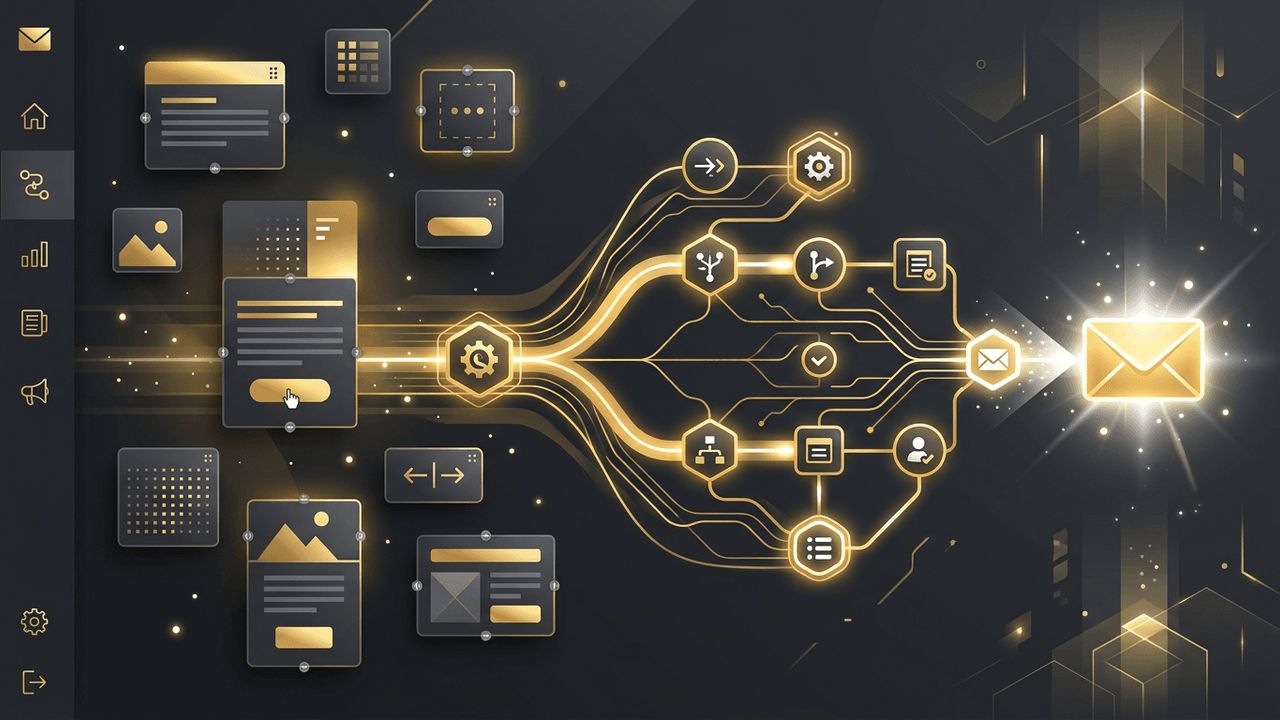
Mailchimp is one of the most widely used email marketing platforms, popular with small businesses, creators, nonprofits, and growing companies. It offers an approachable interface, drag-and-drop email design, audience management, automation, and reporting in one place. For beginners, it provides an easy entry point into email marketing, while more experienced marketers can take advantage of segmentation, testing, and integrations. This guide explains how to use Mailchimp for email marketing, from setting up your account to launching campaigns and analyzing results.
Maximize Your Mailchimp Results with AAMAX.CO
Mailchimp is easy to start with, but getting the most from it requires strategy and know-how. AAMAX.CO is a full-service digital marketing company offering web development, digital marketing, and SEO services worldwide. Their team helps businesses configure Mailchimp accounts, design branded templates, build segments and automations, and connect the platform with websites and online stores. They also align email efforts with broader digital marketing campaigns for consistent messaging across channels. Businesses hire them to turn Mailchimp from a simple sending tool into a powerful growth platform.
Step One: Create Your Account
Sign up for a Mailchimp account and choose a plan that fits your needs. Mailchimp typically offers a free plan for small audiences with basic features, along with paid plans that unlock advanced automation, testing, and support. During setup, you will enter your business details, including your physical address, which is required for compliance with anti-spam regulations.
Step Two: Authenticate Your Domain
To improve deliverability, verify and authenticate your sending domain within Mailchimp's settings. The platform guides you through adding the necessary DNS records with your domain provider. Authentication helps mailbox providers trust your emails and reduces the chance they land in spam.
Step Three: Set Up Your Audience
In Mailchimp, your contacts are stored in an audience. You can import existing contacts from a spreadsheet, as long as they have given permission to receive emails. Mailchimp lets you organize contacts using tags, groups, and segments:
- Tags: Labels you assign to contacts, such as "customer" or "event attendee."
- Groups: Categories subscribers can choose themselves, such as topics of interest.
- Segments: Filtered sets of contacts based on data, such as location, purchase activity, or engagement.
Using these tools helps you send more relevant emails.
Step Four: Grow Your List with Forms
Mailchimp provides customizable sign-up forms, pop-ups, and landing pages. Embed a form on your website, add a pop-up offering a discount or free resource, or create a dedicated landing page to promote on social media. Customize form fields to collect useful information, but keep them short to encourage sign-ups.
Step Five: Design Your Email
Mailchimp's email builder lets you create campaigns using pre-designed templates or start from a blank layout. Drag and drop content blocks such as text, images, buttons, social links, and product recommendations. Customize fonts, colors, and branding to match your business. Use the preview mode to check how your email looks on desktop and mobile devices.
Step Six: Create and Send a Campaign
To create a campaign, choose your audience or segment, set the sender name and email address, write your subject line and preview text, and design your content. Mailchimp provides a checklist to ensure all required elements are complete. Send a test email to yourself to review content and links, then either send immediately or schedule for an optimal time.
Step Seven: Use Automations
Mailchimp's automation features, often called customer journeys, let you send messages automatically based on subscriber behavior. Popular automations include welcome emails for new subscribers, abandoned cart reminders for online stores, birthday messages, post-purchase follow-ups, and re-engagement emails for inactive contacts. Automations save time and deliver timely, personalized communication.
Step Eight: Run A/B Tests
Mailchimp allows you to test different versions of a campaign to see which performs better. You can test subject lines, sender names, content, or send times. The platform sends variations to a portion of your audience and then delivers the winning version to the rest. Regular testing helps you continuously improve results.
Step Nine: Integrate with Other Tools
Mailchimp connects with many popular platforms, including e-commerce stores, website builders, CRM systems, and social media tools. Integrations allow you to sync customer data, track purchases, and trigger automations based on activity outside Mailchimp. For online stores, product recommendations and revenue tracking can be especially valuable.
Step Ten: Analyze Your Results
Mailchimp's reports show key metrics such as open rate, click rate, unsubscribes, bounces, and revenue for connected stores. Click maps reveal which links received the most engagement. Compare performance across campaigns and segments to identify what resonates with your audience. Use these insights to refine future campaigns.
Best Practices for Mailchimp Success
Keep your audience clean by removing inactive contacts, which also helps manage costs since pricing is often based on contact count. Maintain a consistent sending schedule, personalize content using merge tags, and always provide clear value in every email. Stay compliant by only emailing contacts who have opted in.
Final Thoughts
Mailchimp makes email marketing accessible to businesses of all sizes. By creating your account, authenticating your domain, organizing your audience, growing your list, designing compelling emails, using automations, testing, integrating tools, and analyzing results, you can build a powerful email program. With consistent effort and smart strategy, Mailchimp can become a central part of your marketing success.
Want to publish a guest post on aamconsultants.org?
Place an order for a guest post or link insertion today.